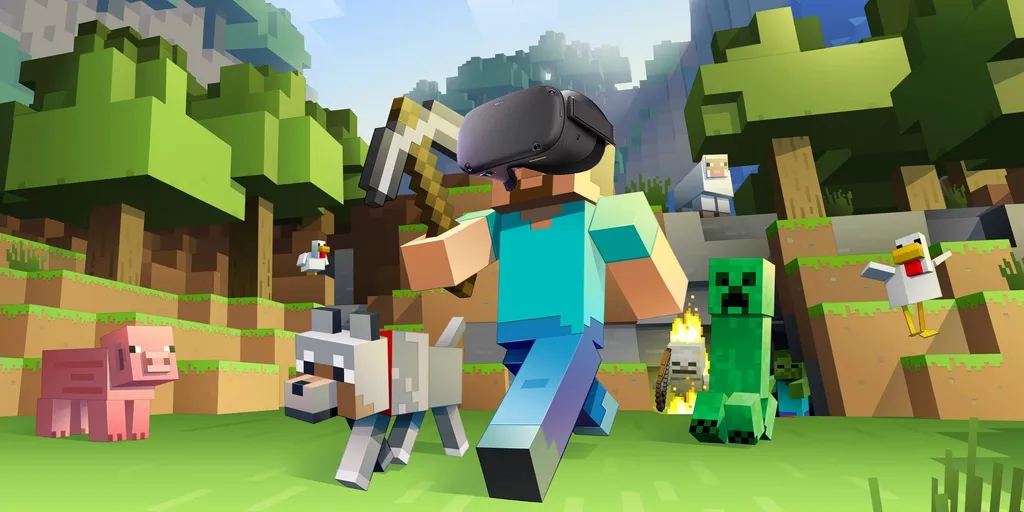
QuestCraft, a new Java Edition port for Quest, does what Microsoft is yet to do: bring a playable version of Minecraft to Quest headsets as a standalone experience.
QuestCraft launched in beta today and acts as a wrapper/mod for Minecraft: Java Edition that can be sideloaded to Quest headsets, allowing players to play Minecraft as a standalone experience on Quest with full motion control support.
Similar to the popular ports of classic PC games from Team Beef, the QuestCraft release doesn’t actually distribute the game itself, only the wrapper that allows it to be launched and played on Quest. You’ll still need to own a legitimate copy of Minecraft: Java Edition (which is a different release to the Windows 10/Microsoft Store/Bedrock version of the game) for the mod to work.
When you open the launcher on Quest, you’ll be prompted to log in to a Mojang or Microsoft account that owns the Java Edition. Once logged in, the game is able to use the launcher to download the game (similar to how Java Edition works on PC) and then uses the custom-developed wrapper to run the Java application, with modifications, on Quest.
The installation process is pretty convoluted at the moment and a bit more complicated than you’d want if you’re a beginner. There’s official instructions over on the GitHub page, but here’s our abridged version:
1. Download the app-debug.apk and extracttoroot.zip files from the GitHub release page here.
2. Install the APK file via SideQuest (for more instructions on how to sideload with SideQuest, check out our guide).
3. Extract the zip files and copy the net.kdt.pojavlaunch.debug folder (in its entirety) to the same location (in the Android/data folder, where other applications are stored) on your Quest filesystem using the SideQuest file browser.
4. Go to unknown sources on your Quest and open PojavLauncher. This will then prompt you to login with your Mojang or Microsoft account.
5. Once logged in and the launcher is open, go to Settings -> Video and Renderers and select the third option.
6. On the main page of the launcher, you can select a profile (a version of Minecraft for it to install). Select the fabric profile, which should be last on the list.
7. Press Play. Minecraft will install and launch — depending on your headset model, it could take up to 1-3 minutes for the three loading dots to disappear and the game to start. Likewise, the game will freeze when creating a new world — be patient, it should load in due time.
QuestCraft is still in beta, and given it’s a wrapper for a Java application that is already notoriously unoptimized, don’t expect performance to be great.
That being said, there’s 5 recommended mods you can install to improve performance — you can see the list at the bottom of the page here. Download the JAR files for each one, and move them to the mods folder on your Quest filesystem (Android/data/net.kdt.pojavlaunch.debug/files/.minecraft/ mods).
We played with the recommended mods installed and found that it was a serviceable experience for the 10 or so minutes we tried it out. The framerate varied quite significantly and it’s still a subpar experience compared to any standard Quest app, but that’s also to be expected given the nature of what’s happening behind the scenes.
The variable frame rate and hitches might be too much for some to handle, but for now QuestCraft offers the only standalone version of Minecraft playable on Quest headsets, which is impressive in and of itself.
You can read more over on the QuestCraft GitHub page or by joining the QuestCraft Discord server, where there’s lots of answered questions and support messages.

